
There are many open-source tools used by security experts to perform penetration testing. The Attack Team Automation Tool (ATAT) is one such utility that can perform various penetration testing tasks without human interaction. The ATAT utilizes the resources from other security tools to offer the following functionalities.
- MSFVenom payloads generation
- Metasploit console and attack options
- Vulnerabilities assessment
- Scanning and enumeration
- Exploitation
- Privilege escalation
- Post exploitation tasks
- Wireless attacks
The aforementioned functions are performed by utilizing a number of penetration testing tools including Metasploit, Nmap, Hashcat, Bashark, LinEnum, Bloodhound, Empire, Masscan, SSLScan, and DeathStar. The tool supports a complete automaton for a lot of MSF post-exploitation activities. Some of these activities are listed below.
- Hosts enumeration
- Cached domains’ credentials dumping
- Installed apps information gathering
- Cookies dumping
- Browser’s saved credentials dumping
- OS environment information
- Target host’s installed apps information collection
- WPA, WEP, PSK passwords dumping
- Users’ search history dumping
- Mounted USB’s record gathering
- Security tools (AV, IDS, IPS, Firewalls) information
- IPTables, Wifi, open ports, and interfaces information
- Host files dump
- Logged users record
- DNS Cache data
- Bitlocker key extraction
- GPG credentials
- Certificates dumps
HOW TO INSTALL ATAT?
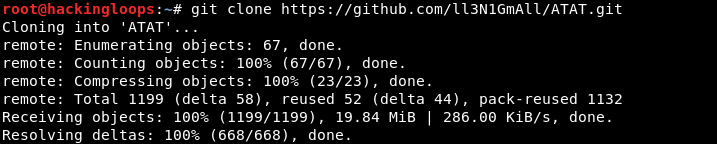
The ATAT can be downloaded from the Github repository using the following command.
git clone https://github.com/ll3N1GmAll/ATAT.git
There is no installation requirement since the tool runs through the ATAT.sh file. However, there may be few dependencies of the integrated tools that can be installed from the main menu of the ATAT explained in the following section.
HOW ATAT WORKS?
After cloning the ATAT, navigate to the tool’s directory and run the following shell script.
cd ATAT
./ATAT.sh

The command loads all the available testing modules as shown in the following screenshot.
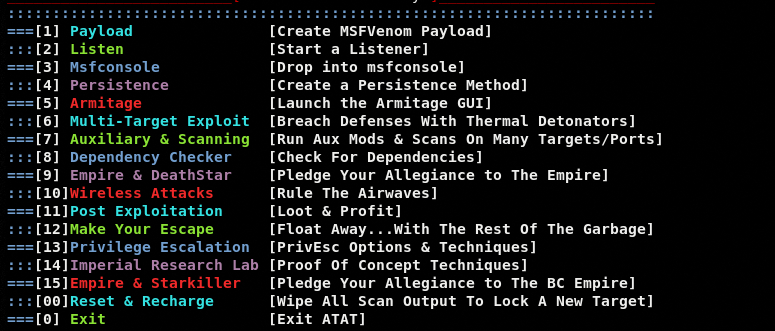
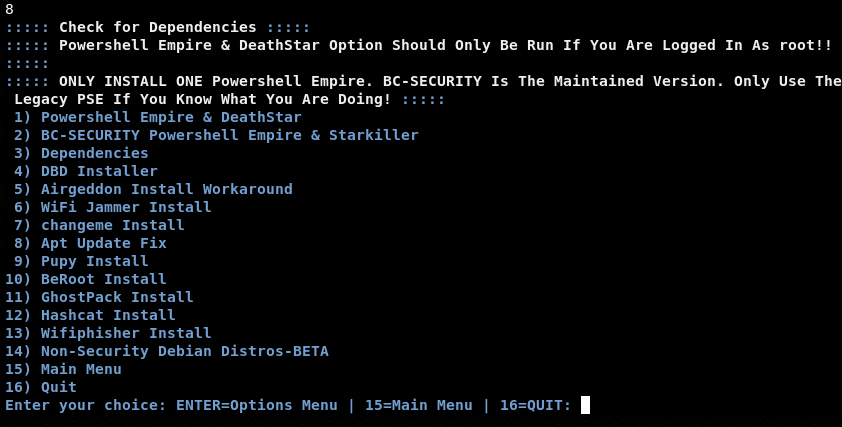
Each module has a sub-menu containing different options, tools, or instructions to proceed with penetration testing. As mentioned in the installation section, the ATAT outsources the functionalities of different tools that may require additional packages/libraries to perform. These dependencies can be verified or fulfilled by running the dependency checker module indexed at the 8th position in the list. Type the dependency checker module’s sequence number to know about different packages that can be automatically installed from the console.
There are different scanning, assessment, attack and exploitation, post-exploitation, and escalation modules available in the main menu of the ATAT. We can continue with the desired option by typing its sequence number in the command-line interface.
AUXILIARY & SCANNING EXAMPLE
To demonstrate the ATAT working, let’s start with the Auxiliary & Scanning module. The module has the following scanning and enumeration options.
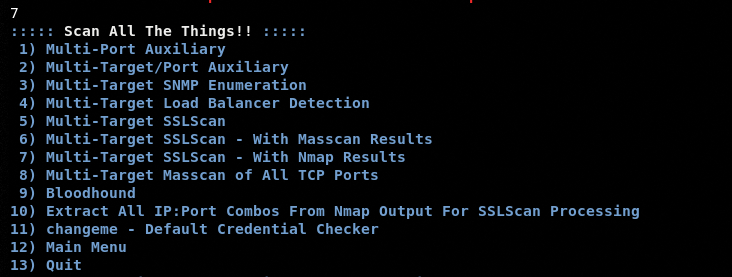
The screenshot shows that the tool has support for multiple targets scanning together. To proceed with the Auxiliary and Scanning module’s options, we need to first define the target IPs and ports in the respective text files available in the ATAT’s directory. In this example, we are going to perform the multi-target SSL scan against the webscantest.com host. The IP of the target host can be found by using the following ping command.
ping webscantest.com
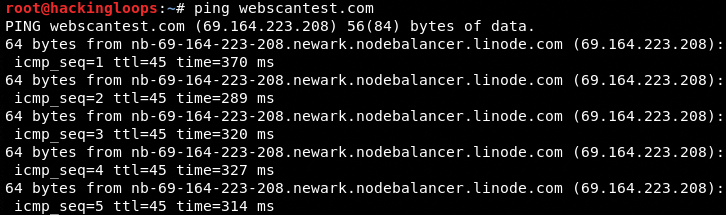
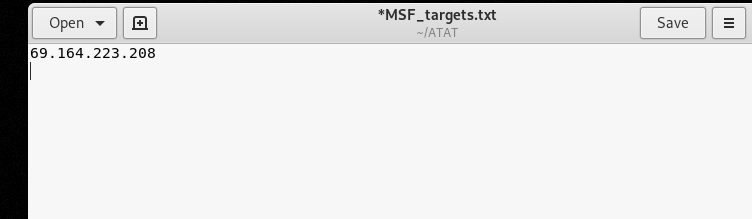
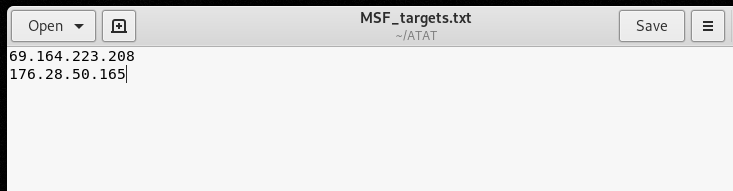
The IP of the target web server should be saved to the MSF_targets.txt file available in the ATAT’s directory.
Now we select the desired scanning option from the Auxiliary & Scanning module, which in this case is Multi-Target SSL Scan at number #5 on the list.
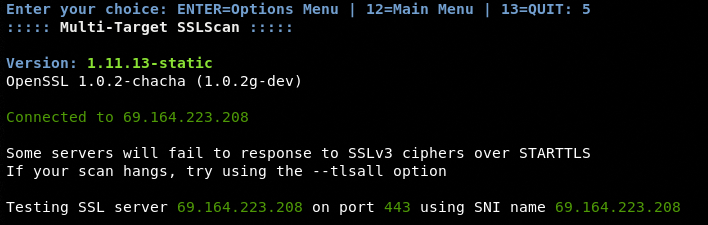
Upon a successful connection with the target, the module performs the following SSL checks.
TLS Fallback SCSV

TLS Renegotiation

TLS Compression

Heartbleed Test

Supported Server Cipher(s)
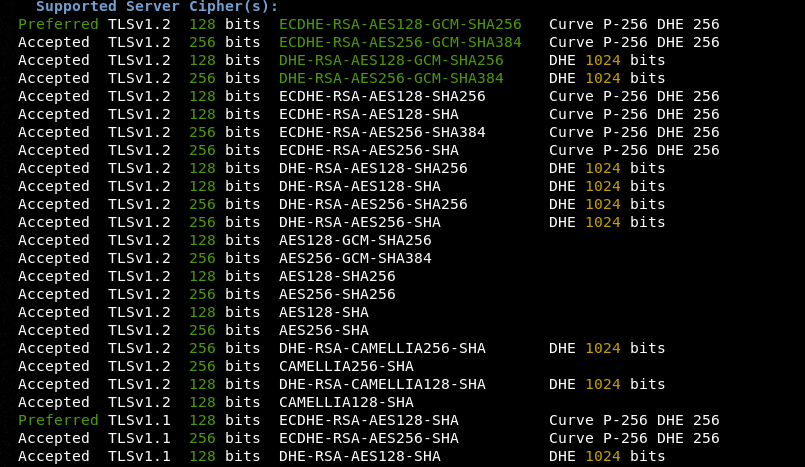
SSL Certificate

The same approach can be applied to test the other scanning options. For instance, we can launch the Multi-Target Masscan of all TCP ports (#8) for the following target IPs using a similar method.
The tool scans all the TCP ports and returns the results of all open TCP ports.
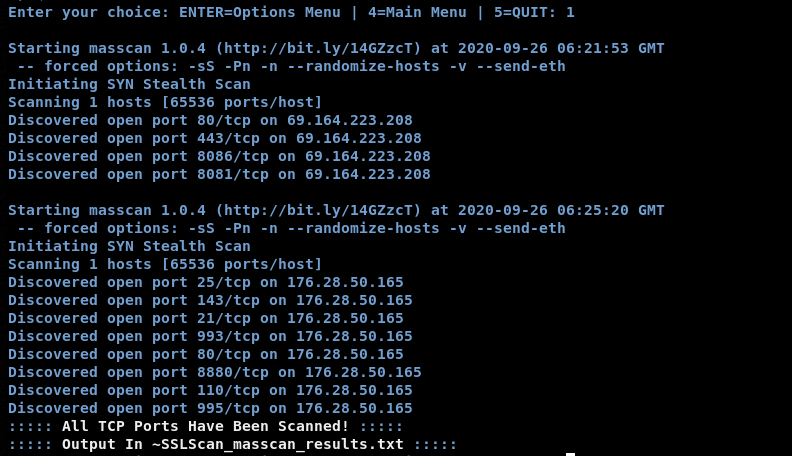
The results are also saved in a text file in the ATAT’s directory.

OTHER MODULES AND OPTIONS
All the other modules and options can be explored in a similar way as explained in the above examples. The Payload module can be used to create Windows, Linux, and Android payloads.

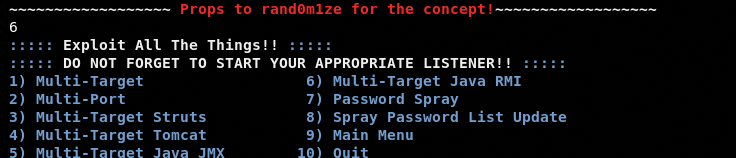
The Multi-Target Exploit module can be used to exploit the targets with the following features.
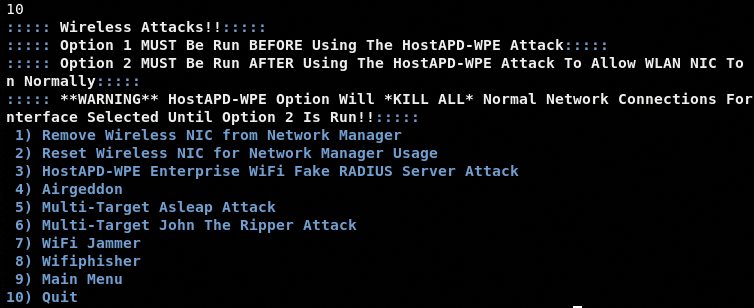
The Wireless Attacks module has a number of wireless credentials capturing, jamming, and phishing options.
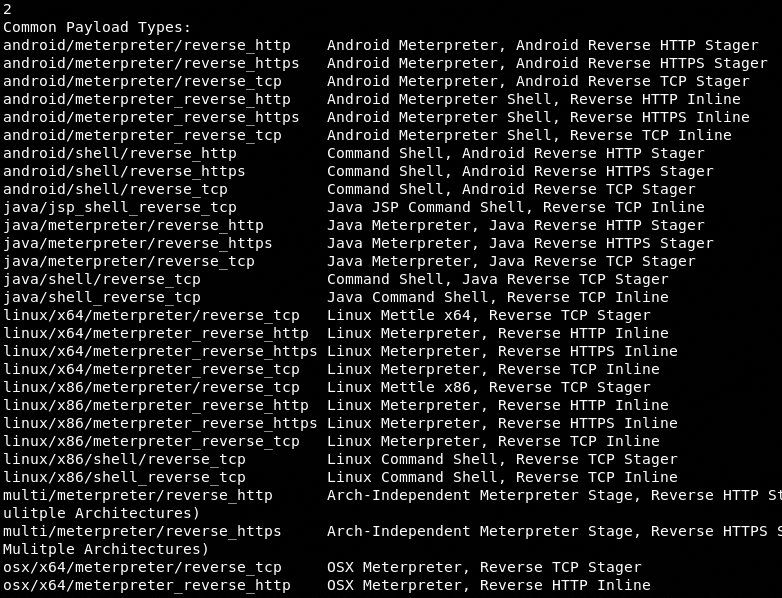
The Listener module has a ton of payload types to exercise the MSF attack options.
The Privilege Escalation module gives decent choices to shift from an ordinary user to a super-user after gaining access to the target hosts.

CONCLUSION
The ATAT is a decent automation tool that requires very little human interaction to perform a handful of penetration testing tasks. The addition of reconnaissance and OSINT functionality can make the tool a better choice for every stage of the penetration testing cycle.